
Custom Pelican Case
This will detail how I went about customising a Pelican 1450 case to fit my set of Contax Zeiss lenses.
First up, there are cheaper alternatives to this case readily available but with something as fragile and expensive as these lenses I wanted the best. I’ve used pelican cases in studio and film environments and they can just take a beating.
Here is one of the cheaper cases i have. still a decent rugged case but im not sure about it’s waterproof abilities. It is just a Tool case i bought from Supercheap auto and I currently use it to transport my Godox 170ii.
Before buying the case i made sure to measure my lenses and used ‘My case builder’ (https://mycasebuilder.com/mcb-pre-made-designs/camera-cases/) to double check my measurements and finalise spacing for the case.
When the case arrived I laid everything out on top of it and rearranged where I needed to before cracking out the rulers and marking the top face with a white pencil.

Case foam with items laid on top. I substituted my wallet for the filter bag as it hadn’t arrived yet.
Because my lenses are all different heights I wanted a way to make them all sit flush with the surface to the top foam would pin them in the case correctly. I came up with this snug base idea using offcuts to pinch the bottom of the lenses, securely stopping the base from wobbling in the case.

Each base is the same size as an EF end cap.

I decided to keep the corners as it pinches into the lens a bit better than just squared edges.
The 85mm 1.4 proved to be the hardest to make a base for as it pretty much is the depth of the case. I decided to cut about 10mm of foam from the bottom of the case and cut slots into it for the taller items. I ended up doing this for the 85, 25 and Tiffen Filter bag.

The Bottom layer of the case with added room for the 85mm and Tiffen filter bag.
Once the lenses were all sitting correctly in the case, I cut 10mm slots for the Lens Pen and JIS Screwdriver so I could keep maintenance tools in the case wherever the lenses go if anything goes wrong with them.

The completed cut outs assembled in the case.
After this step I just needed to finalise it and make the foam stronger as pick and pluck foam has a tendency to disintegrate through use. A quick trip to Bunnings and I picked up a can of Plasti dip. This coats and seals the foam in rubber which makes it more water resistant and durable. I went over the foam with two coats and finished the rest of the can on the very top face of the foam which created a much thicker layer as it is going to see the most use.
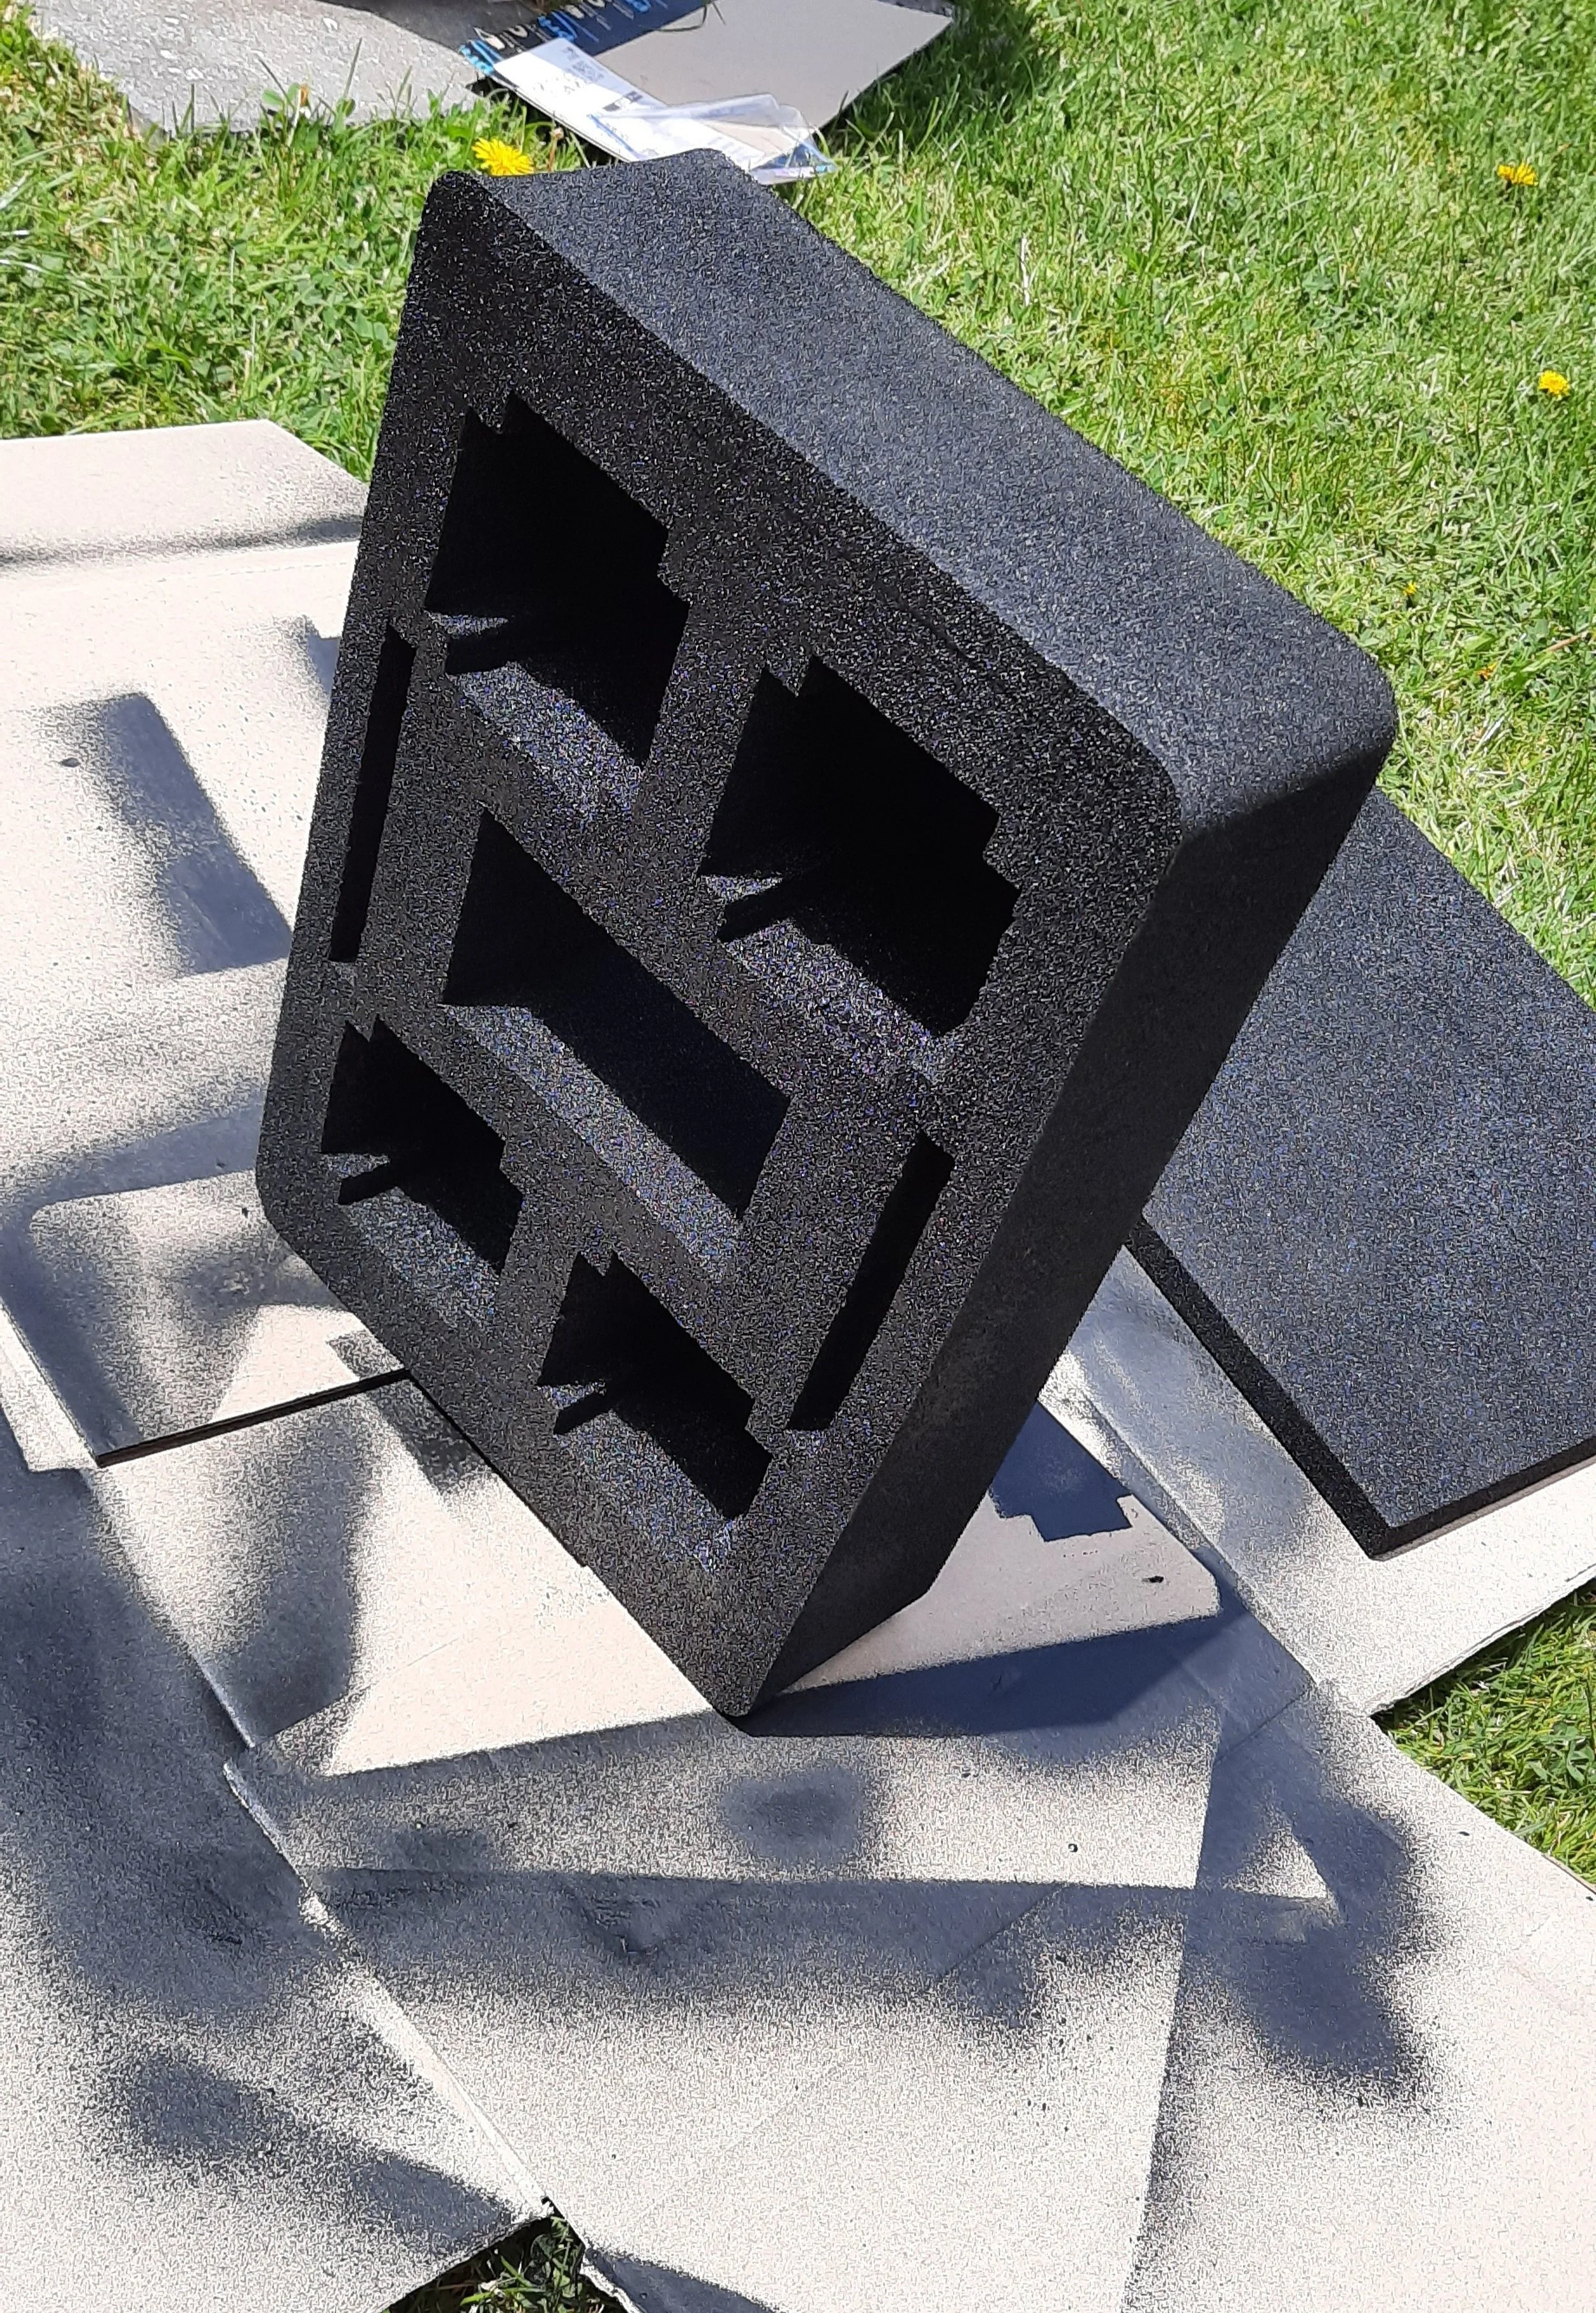
The foam insert after the two coats of plasti dip, the base layer is sitting behind it.
All I had to do now was wait for the foam to dry and assemble it all. The plasti dip ended up being the best idea and the foam is still going strong and hasn’t peeled or shown a sign of coming apart yet.

